
This post contains affiliate links. That means if you make a purchase through the links provided, I may earn a small commission at no extra cost to you. As always, I only recommend products I personally use and love.
After several years of doing pyrography, I’m still amazed by how many little tricks and tools I’ve picked up along the way. Below are six of my essentials (plus one bonus!) that have truly made my life easier as an artist. Whether you’re just starting out or you’ve been burning for years, I hope you’ll find these suggestions helpful.
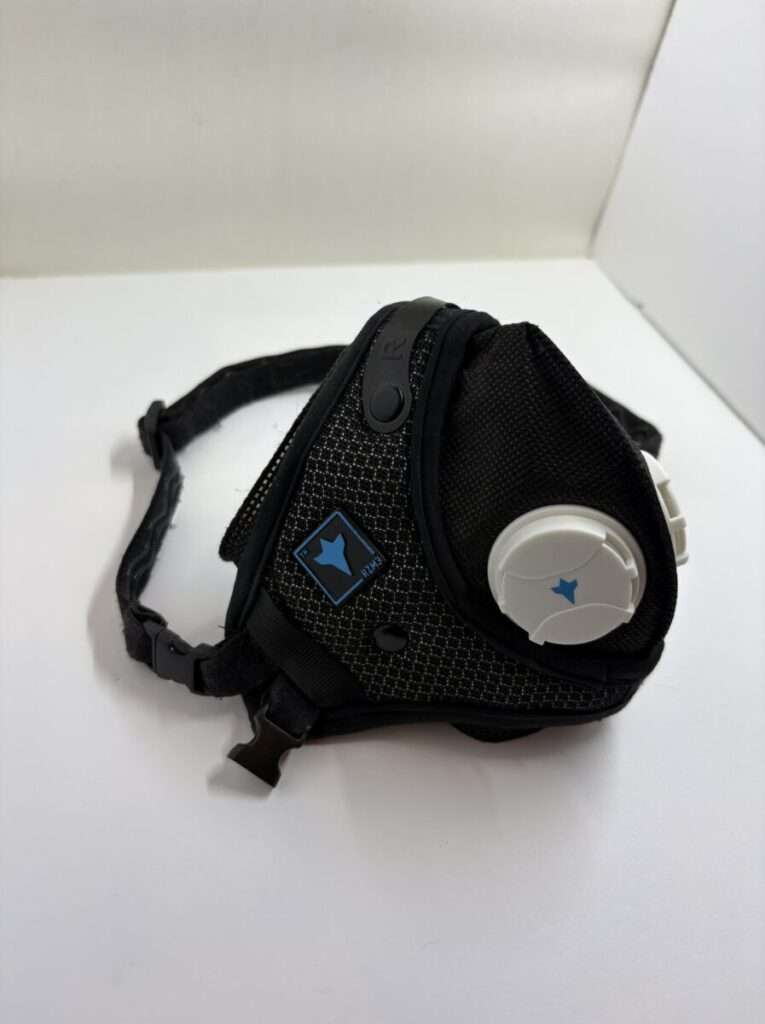
1. RZ Mask
When I first started woodburning, I used to get headaches all the time. At a pyrography summit, I learned that inhaling smoke might have been the culprit. Since then, I never burn without a mask.
RZ masks are my go-to because:
- They have replaceable filters that aren’t expensive.
- They’re washable and easy to find online or in-store.
- They come with both standard and high-airflow filters (the latter is a lifesaver during long burn sessions or if you have respiratory issues).
? I personally use and recommend the RZ Mask — it’s been a game-changer for my comfort and health while burning.
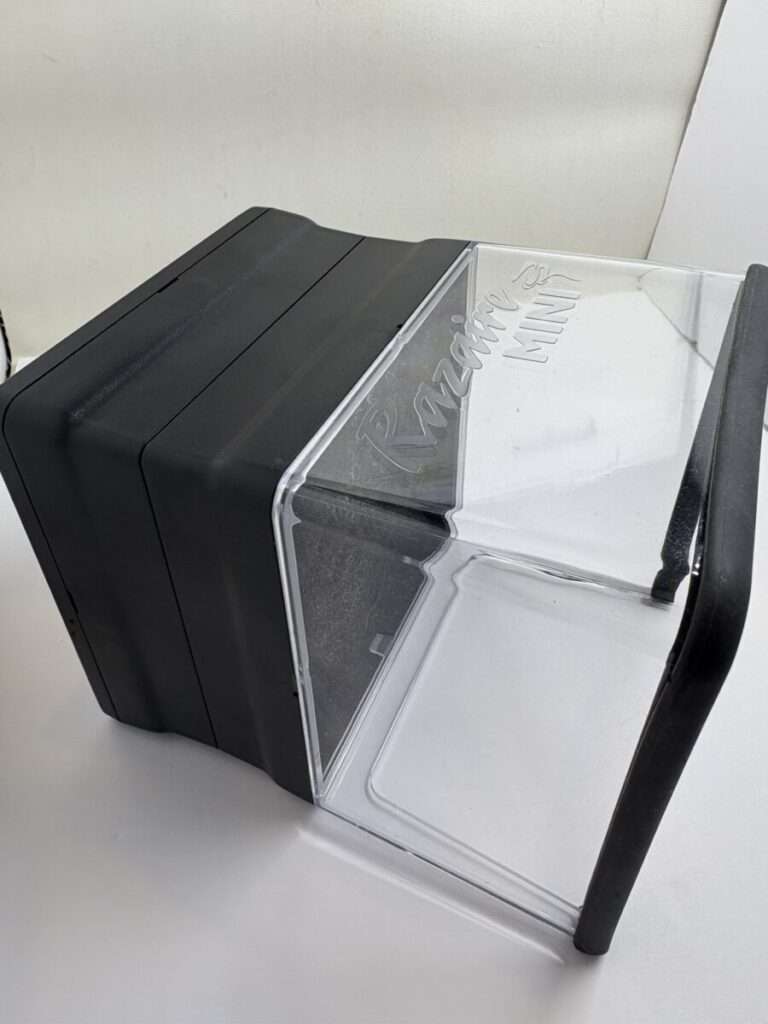
2. Smoke Extractors
Even with a mask, keeping smoke away from your lungs is critical. I use two different extractors depending on where I’m working and what I need.
Kotto Fan (budget-friendly option):
- Replaceable carbon filter.
- Affordable, quiet, and portable.
- Perfect for on-site events.
- Drawback: only one speed, but I’ve never needed more.
Razaire Mini (premium option):
- More expensive, but directs smoke better thanks to its shield.
- Can be upgraded with a HEPA filter for even cleaner air.
- I use it with the optional arm, which allows me to position it directly above my work for maximum effectiveness.
? I personally recommend the Razaire Mini Smoke Extractor. It’s been an excellent investment for my studio when I want maximum smoke control.
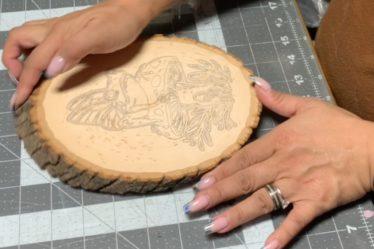
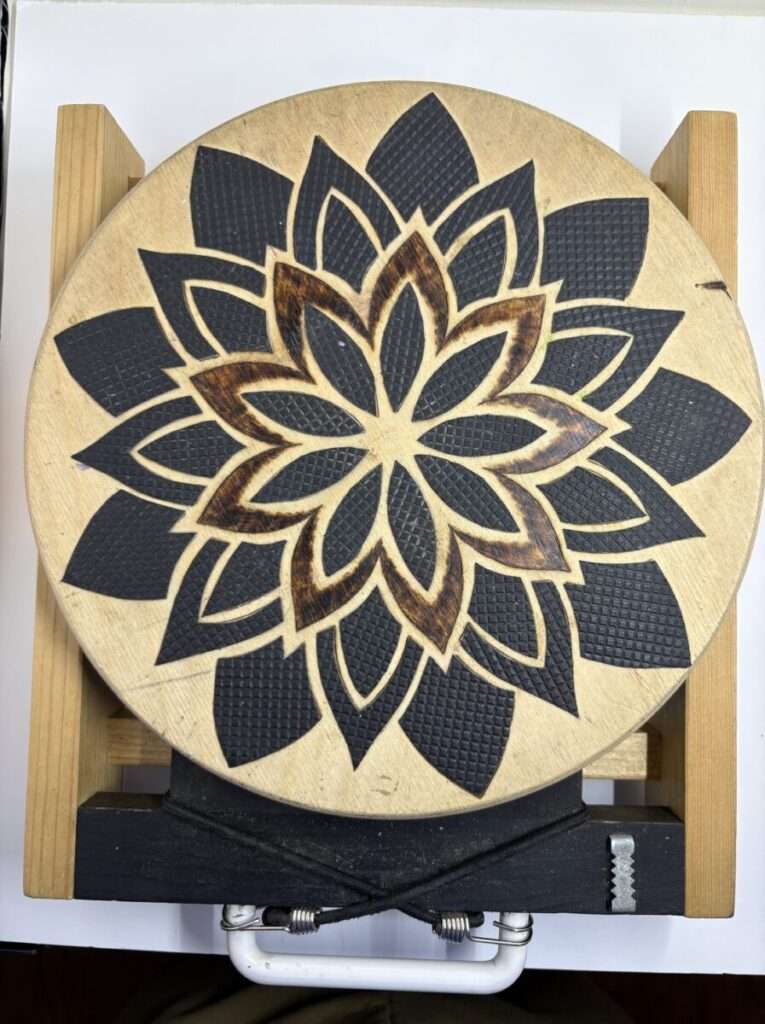
3. Turntable
This is hands-down one of my favorite tools. Using a turntable makes burning wood feel like decorating a cake—you can easily rotate your piece for smooth curves and consistent lines.
My turntable also tilts, so I can angle it depending on the project. To keep pieces secure, I added cat-tongue tape for extra grip.
And here’s my hack: since I burn at high heat and carbon builds up on my nibs, I mounted a Razertip brass brush to the bottom of the turntable. It’s perfect for quick, frequent cleanings without breaking my flow.
4. Razertip P88 Wood Burning Tool
Of course, the obvious thing you’re going to need is a high-quality wood burning tool. There are a lot on the market, but my personal choice is the Razertip P88.
Why Razertip?
- Quality & Value: It has lasted me years without a single issue.
- Variety: Razertip offers over 300 different tips.
- Compatibility: I can use Razertip-branded tips across all my Razertip machines without adapters.
? I use and recommend the Razertip P88. It’s consistent, reliable, and versatile enough for both fine detail work and bold shading — one of the best investments I’ve made in my pyrography journey.
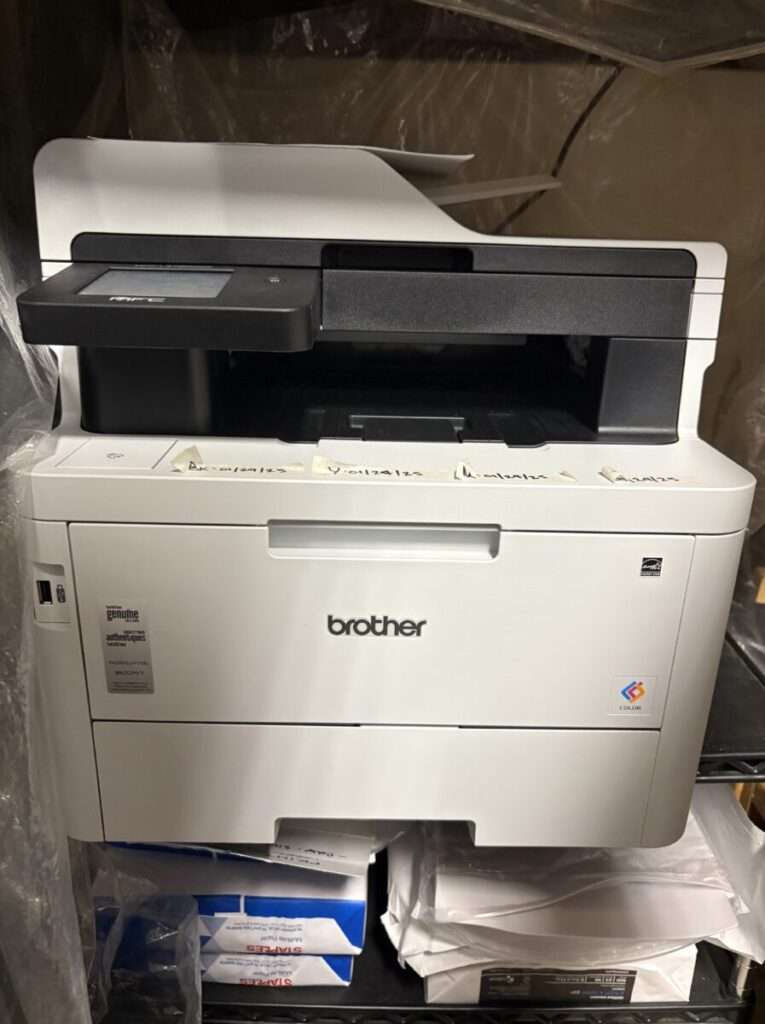
5. Brother Laser Printer
When it comes to transferring designs, my Brother laser printer is a game-changer. Printing patterns gives me much cleaner, finer lines than tracing with graphite paper, which means:
- My burns are more precise.
- I save tons of prep time.
- I get to spend more time doing what I love—burning.
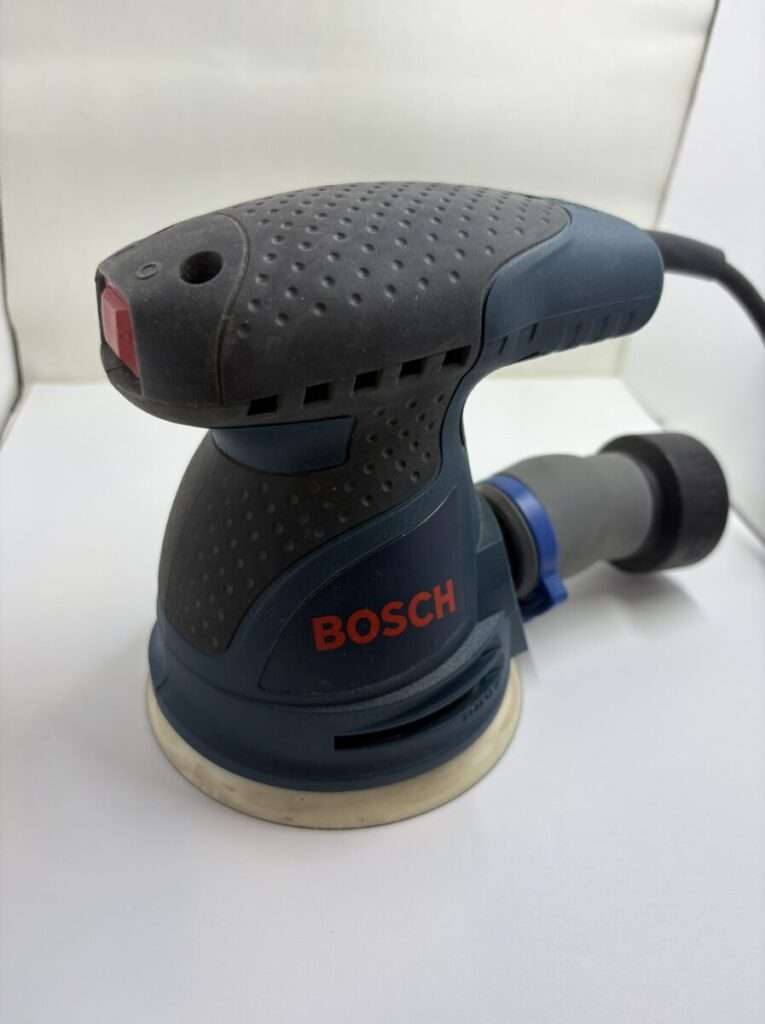
6. Bosch Orbital Sander
Prepping and finishing wood is so much easier with an orbital sander. Compared to hand-sanding, it’s faster, less tiring, and gives a smoother finish.
My process:
- Sand down progressively from 120 to 320 grit before burning.
- After overburning, I often go back over with 120 grit to sharpen my lines.
Yes, it means I sometimes sand a piece four times, but the results are worth it. Bonus: attaching a shop vac keeps the dust under control.

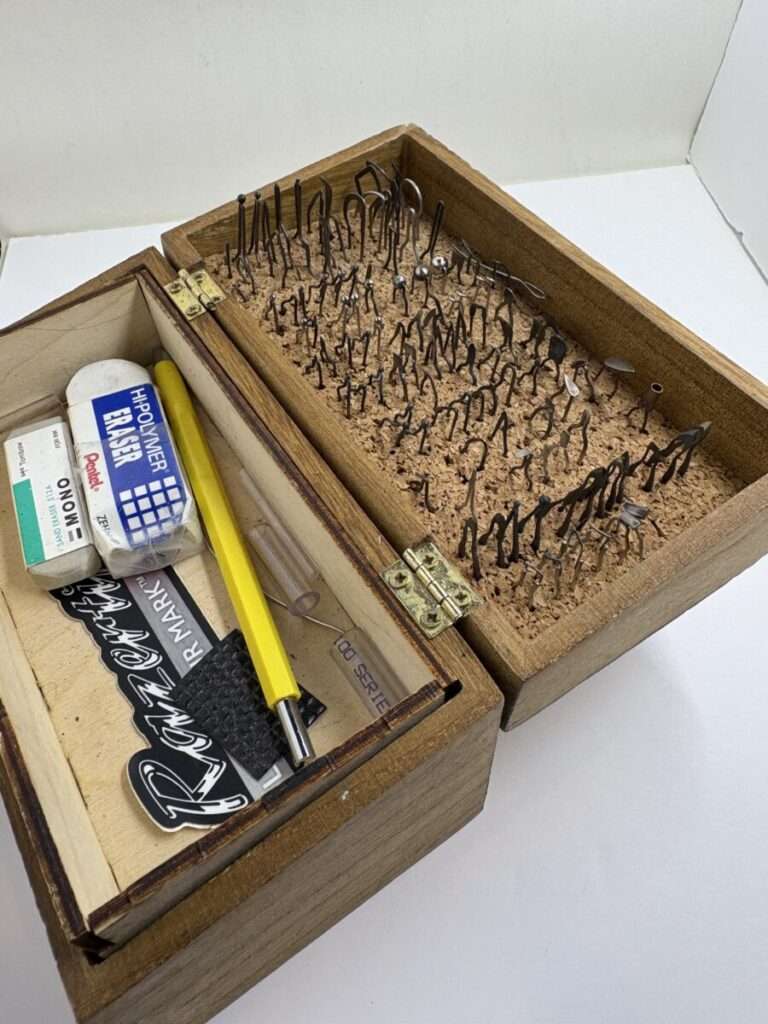
Bonus: The “Nib Crib”
I use a lot of interchangeable nibs, so organization is key. Enter the Nib Crib—a simple storage system I built to keep my nibs neat, easy to find, and in pristine condition.
When Brian and I do on-site demos, we always bring it along. It doubles as a handy way for him to show customers the different nibs and techniques I use.
Final Thoughts
These tools have been indispensable on my pyrography journey, and I hope they help make your work easier too.
What about you? Share this post and let me know the tools you’ve discovered that make your woodburning life better.