
This post originally appeared on the BZ FurFur blog back in October 2023.
Hey gang—Halloween is almost here, and at BZ FurFur we couldn’t be more excited. From scary movies and costumes to that perfectly spooky fall vibe, this our favorite time to create.
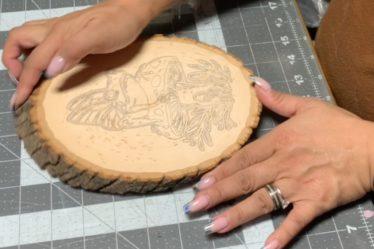
This year we’re thrilled to, again, be part of Apex Geek and Grub Halloween Edition in Optimist Farm! To get ready, we’ve been working on all manner of creepy pieces and today we’re sharing five of our favorite tips for bringing Halloween flair into your wood burns.
1. Torching for Texture
Nothing gives wood that eerie, weathered look quite like fire. Enter: the butane torch.
There are two main types—standard and pen torches. I use a standard one, but either works as long as you can adjust the flame.
- A smaller flame = more control for detailed areas.
- A larger flame = great for big sweeping burns but less precise.
Fast, broad strokes will add a light smoky tinge. Slow passes create deeper char but risk leaving divots, so stay mindful. Also consider the wood type: soft woods burn quickly, while hard woods need more heat and exposure.
Rule of thumb: the hotter you’d set your pyrography pen for that wood, the hotter your torch should be.
2. Shading for Spooky Depth
To nail the Halloween mood, you’ll need shadows, smoke, and atmosphere—and that comes from shading.
Work at a lower heat and build up layers gradually. Aim for that smooth ombré effect: dark fading into light. Always start lighter; you can burn darker later, but there’s no undoing an area that’s gone too dark.
Be consistent with your light source—pick where the “moonlight” is coming from and shade accordingly. Reference models or photos if you’re unsure where shadows would naturally fall.
3. Blood Splatter Effect
Let’s be real—no Halloween piece is complete without a splash (or drip) of blood.
Here’s what you’ll need:
- A hard-bristle toothbrush
- An eyedropper
- Dark ink (I love fountain pen ink—my go-to is a rich burgundy called Ox Blood)
Protect your workspace first (a cheap shower curtain works great). Put a few drops of ink on a plate, dip your toothbrush, and flick it with your thumb toward the wood for a fine spray. Then, load your eyedropper, hold it high, and let drops fall so they drip dramatically down your canvas.
Seal with spray polycrylic (brush-on will smear). Don’t skip this step, or your blood effect could run if the piece gets damp.
4. Creative Canvases
The shape of your wood can instantly add to the Halloween theme. Look for pre-cut seasonal shapes like tombstones, coffins, butcher knives, or pumpkins.
These pieces tend to be smaller and oddly shaped, so a handrest can help steady your burn strokes. When choosing designs, pick ones that complement the canvas shape—it’ll make transferring the pattern easier and the final piece more cohesive.
5. Luminescence
Most Halloween art is displayed in low light, so why not make it glow?
Glow-in-the-dark paints are widely available, but I like mixing my own using glow pigment, mica pigment, and watercolor binder. Apply sparingly—highlight only the features you want viewers’ eyes drawn to. Subtle pops of glow are much more effective than covering the whole piece.
Final Thoughts
And there you have it—five ways to take your Halloween wood burns to the next level. Whether you’re torching, shading, splattering, experimenting with canvas shapes, or adding a bit of glow, these techniques will bring the spooky vibes front and center.
We’d love to see what you create! Tag us @bz_furfur so we can check out your hauntingly good ideas.