
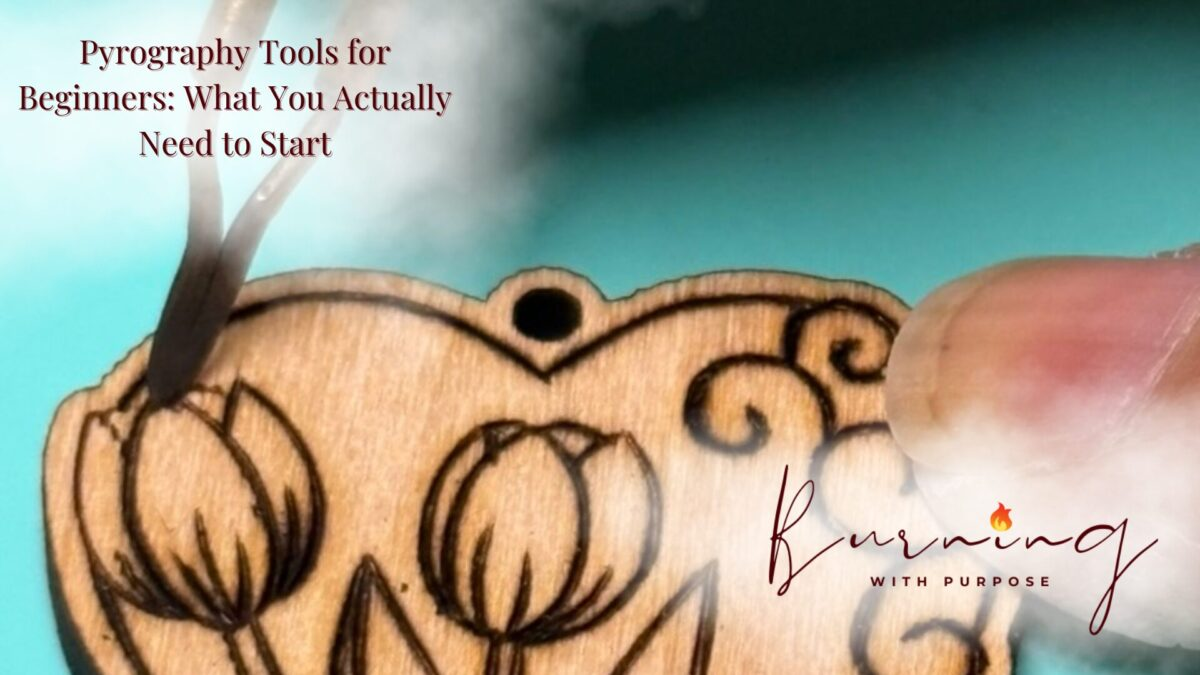
When starting a new art form, it can be daunting to walk into an art supply or hobby store and see the sheer number of materials and tools available. When this happens, you usually do one of three things:
a) Start researching feverishly, trying to figure out what you actually need for your first project
b) Buy everything on the shelf, convinced you’ll need every single item
c) Become completely overwhelmed and go home to watch Netflix
All of these reactions are understandable.
There are countless tools available for nearly every hobby, craft, and art form—ranging from amateur to professional. Some tools are essential, others are optional, and many are only useful for very niche projects. Knowing the difference early on can save you time, money, and frustration.
As a pyrographer, I want to break down the tools we use at BZ FurFur and highlight what we find most valuable if you want to get started today.
The Must-Haves
A Wood Burning Tool
If you want to do pyrography, the first thing you need is a wood burning tool.
There are many brands available, offering tools at different price points, quality levels, and capabilities. If you’re curious what I personally use, I work with a Razertip P88. I’ve written a separate blog post diving deeper into this specific model. Full transparency, If you use my Razertip affiliate link you receive a discount and I receive a small payout that helps keep the business going.
That said, the Razertip (as well as Colwood and Optima) is a higher-end option. The main differences between these brands typically comes down to tip variety and how quickly tips heat up when swapped. If you have the budget and know you’re committed, investing in a professional-grade burner is worthwhile. You can order professional grade machines directly from their website. Razertip has many different machines – from beginner friendly (smaller, simpler machine) to more in depth machines – offering the ability to hook up more than one pen at a time, digital interfaces vs non- digital to machines allowing you to add machines to each other.
However, if you’re just testing the waters or working with a limited budget, starting with a more affordable solid-tip burner from a hobby store is perfectly acceptable. Walmart and specialty craft stores usually carry several options. Walnut Hollow was long a favorite, though they’ve gone out of business; newer brands like Plaid are filling that space.
Look for a burner that comes bundled with several tips so you can experiment and learn what works best for you.
A Mask
A mask is non-negotiable.
Personally, I use RZ Masks. They’re breathable while still blocking out dust and smoke, making them useful not only when burning but also when sanding or cutting wood.
Your health should always come first. In my experience, dust from certain types of wood can cause real physical reactions, and you never truly know what finishes or treatments may be present on the wood you’re burning. Protecting your lungs is essential. I love the RZ M3, although I have used RZ M 2.5. I personally like the double straps because it allows me to secure the mask easier to my face and prevents it from slipping down my face. The RZ M3 does come with the multiple straps so you can choose which is more comfortable and works better for you and how you work.
A Smoke Extractor
Similar to wearing a mask, a smoke extractor is about long-term safety.
I want to be doing this for many years, and I don’t want to harm myself by inhaling excessive smoke. I keep my extractor running whenever I burn, making sure filters are fresh so harmful particles are properly removed. I have used different kinds of extractors through the years. The one I use currently is the Razaire Mini – X60 Smoke Extractor. I love that it is not too loud, small and it allows you to orient it in different ways. It can be used sitting right on your desk or workspace.
Wood to Burn On
You’ll also need something to burn on.
If you’re new pick up some basswood for early projects. Basswood is relatively inexpensive, widely available, and easy to burn because of its softness. You can pick some up your local hobby store.
Some of my favorite wood sources:
- It’s David and Renee. I usually get my “Professional grade” wood canvases from David and Renee. They’re good friends of mine, but the truth is their wood is just so good!!! I appreciate not having to sand it down myself. Also, I’m a sucker for poplar and finished edges. They also have started offering basswood, and can do custom sizes. They are really responsive with quick turn around. If you don’t see it on the website, email them.
- Aspen Rustic Creations. I do ornaments every Holiday season and I usually use their rounds. You can choose to have them sent sanded or unsanded (there is an upcharge, but when you order 100+ at a time, yep, my wrist is grateful that it’s already sanded)
- the dollar store or other discount store. Be careful though: make sure it’s REAL wood. Also be aware that it’s to the best quality so your results may not be the best. It is good though for practice, getting used to your nibs. I started with wood from the dollar store, I still use it to check the temperature of my nibs before burning onto my professional wood canvases. I also use it to test my nibs to see if it will give me the look I want.
- Discount stores like Marshalls. Some gems can be found in these stores! Be aware that most of the wood will already be finished, so consider whether you can remove the finish before burning. DO NOT burn through finish. It’s toxic, and REALLY bad for your health, even if you have a mask and extractor.
Feel free to experiment with other woods as you progress—but don’t let yourself get overwhelmed by the dozens of options at the store. You don’t need them all. Check The Wood Database for info on the different kinds of wood.
The Nice-to-Haves
A Heat-Resistant Mat
I burn directly on my workshop table and take care not to damage my workspace. Since I work at high heat, I always keep a heat-resistant mat under my piece. If I accidentally set a hot pen down, my table is protected.
This may not be critical for everyone, but it’s vital for me. As careful as I try to be, sometimes pens fall off of plates or holders and fall on the table. Look for silicone mats that are made to withstand high heat. I use
Razertip Pyro Studio Mat 12″ x 18″ – Teal.
Pen Grips
Pen grips are incredibly helpful during longer burning sessions. They reduce hand fatigue and allow me to work longer without ending the day with burnt fingers and aching hands. I use Razertip Extreme Silicone Grip – Ocean
A Cleaning Brush
Not everyone agrees on this one, but I like to clean my tips constantly as I work. Using Razertip Premium Tip Cleaning Brass Brush to remove soot and wood particles gives me a cleaner, more consistent burn that aligns with my style. Some pyros don’t like the brush so this is a good alternative Razertip Tip Cleaner/Scraper. I have used both and alternate between them.
Extra Pens and Tips
The single pen and small selection of tips that come with a starter bundle will only take you so far.
As you develop your style, you’ll want additional tips to support different techniques. I’ve written a separate article outlining the tips I find most useful if you want to explore this further.
The “Unnecessary” Items
An Entire Woodworking Shop
It’s easy to think you need to mill your own wood and build everything from scratch.
If you’re already a woodworker, great—use what you have. But if you’re new to pyrography, don’t feel pressured to invest in an entire workshop. An orbital sander and possibly a circular saw are more than enough for most projects, and in many cases, sandpaper alone will suffice. When it comes to woodworking, I HIGHLY suggest getting an orbital sander and a range of sandpaper (60, 80, 120, 220, 320 grits should suffice). You could do it by hand, but having tried this myself: don’t. The hand/arm/physical fatigue can be extreme. Take care of your most precious tool: YOU. You can get an orbital sander for under $50, you’ll be grateful later.
If you have access to places that let you use their woodworking tools, take advantage of it! I use Makerspace Charlotte for this. I don’t have the space for bigger tools like a planer, or circular saw so I go there. It’s been a HUGE help.